Problem
The development team needs to be able to develop both the CMS and the Website application (Head Next.js application), but it is not possible to use Docker for local development.
Solution
Github Codespaces provides a simple solution to develop both the web application (Next.js) and the CMS development (data modelling, templates, rendering items etc…) in a common workspace without using Docker.
Using Codespaces also allows XM Cloud to access the development site for the web application over the internet which means Pages and Experience Editor will be able to use the application being developed. This bypasses having to deploy the application for components to be tested within the Pages/Experience Editor environment.
Creating the Codespaces Configuration
In your repository, create a folder called .devcontainer. In that folder, create a configuration file called devcontainer.json.
Your configuration file should contain the following code:
// For format details, see https://aka.ms/devcontainer.json. For config options, see the
// README at: https://github.com/devcontainers/templates/tree/main/src/dotnet
{
  "name": "Add Your Desired Codespace Name Here",
  // Or use a Dockerfile or Docker Compose file. More info: https://containers.dev/guide/dockerfile
  "image": "mcr.microsoft.com/devcontainers/dotnet:1-6.0",
  "features": {
    "ghcr.io/devcontainers/features/node:1": {
      "nodeGypDependencies": true,
      "version": "lts",
      "nvmVersion": "latest"
    }
  },

  // Use 'forwardPorts' to make a list of ports inside the container available locally.
  "forwardPorts": [3000],
  "portsAttributes": {
    "3000": {
      "visibility": "public"
    }
  }
}
In this file, we are telling Codespaces:
- The base image to use for the development container. For XM Cloud, we will use the dotnet v6 base image. This is to support the Sitecore dotnet tool CLI. When the tool is updated to use dotnet 7.x, the base image can be updated.
- Next we add Node LTS in as a feature to be able to run the Next.js application.
- Finally we set port 3000 up for port forwarding for the Codespaces URL and we make port 3000 public so that it can be accessed by Pages.
Commit these changes to your git repository and move on to the next step, based on where your git repository is hosted.
Setting up your Codespace - Github
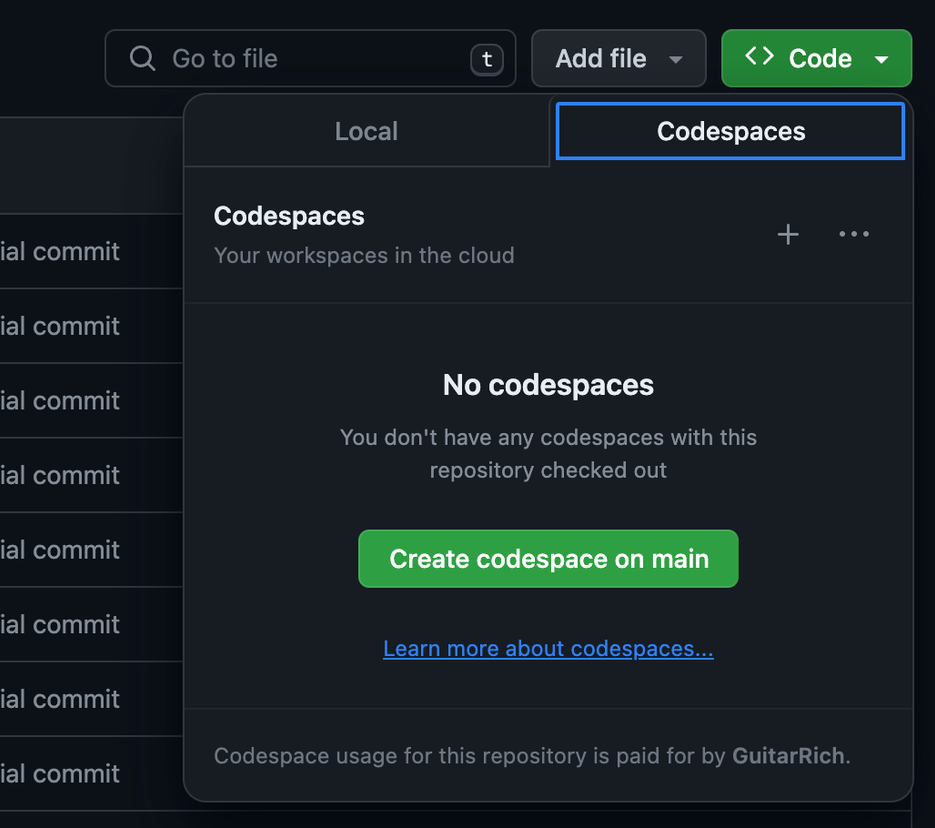
Setting up your codespace on Github is very simple. Navigate to the code page in your repository and click the green Code button on the right. Change to the Codespaces tab and click the Create codespace on main button:

This will open a new tab with your codespace being created. The configuration will include all the required resources to run your web application.
The UI is the same as Visual Studio Code. Once the Codespace is created, the developer will be able to open that Codespace in Visual Studio Code also.
Setting up your Codespace - Azure DevOps
Go to Github Codespaces and use the Blank quick start template to create a new codespace. You can also do this within Visual Studio Code by installing the Visual Studio Codespaces plugin. This recipe will focus on using the browser, but the same steps apply to using VS Code.
These steps assume you already have an XM Cloud repository based on the XM Cloud Foundation Head starter kit and have gone through the steps of adding the devcontainer.json file.
Next, we need to initialize the codespace with a git repository. Open a terminal in the root of the codespace and run:
git init
Now, we will add the Azure DevOps repository as a remote.
git remote add origin git@ssh.dev.azure.com........
You can copy the SSH or HTTP git URL from the repository’s website like this:

Now run:
git pull
This will pull the repository into the Codespace ready to run. Before running, the container will need to be rebuilt. In codespaces, bring up the command pallet and run Codespaces: Rebuild Container.
Running your website
To run the web application, first the developer needs to configure the environment variables for the solution.
In Codespaces (or VS Code), navigate to the folder containing your Next.js application. In the starter kit, this is located at ./headapps/nextjs-starter.
Add an .env.local file and populate the following environment variables with the values from your XM Cloud instance (do not commit these changes back to the repository):
There is currently a bug in JSS that means the .env.local file does not get picked up. As a work around, update the .env file directly, but remember not to commit the changes. Once the bug is fixed, .env.local should be used.
JSS Changelog - Add .env.* support #1741
The following configuration is for JSS 21.6 or greater:
PUBLIC_URL=https://$CODESPACE_NAME-3000.app.github.dev/
JSS_EDITING_SECRET=<Get the editing secret from <xmcloud CM URL>/sitecore/admin/showconfig.aspx
SITECORE_SITE_NAME=<Your Site name>
SITECORE_EDGE_CONTEXT_ID=<Get the context ID from the Developer Settings tab for your environment in the deploy app>
The following configuration is for JSS 21.5.x or earlier:
PUBLIC_URL=https://$CODESPACE_NAME-3000.app.github.dev/
JSS_EDITING_SECRET=<Get the editing secret from <xmcloud CM URL>/sitecore/admin/showconfig.aspx
SITECORE_API_KEY=<Get the API key from the XM Deploy app (see below)>
SITECORE_API_HOST=<The URL of your XM Cloud CM instance>
SITECORE_SITE_NAME=<Your site name>
Now open a terminal in the folder containing your Next.js application and run:
npm install
npm run start:connected
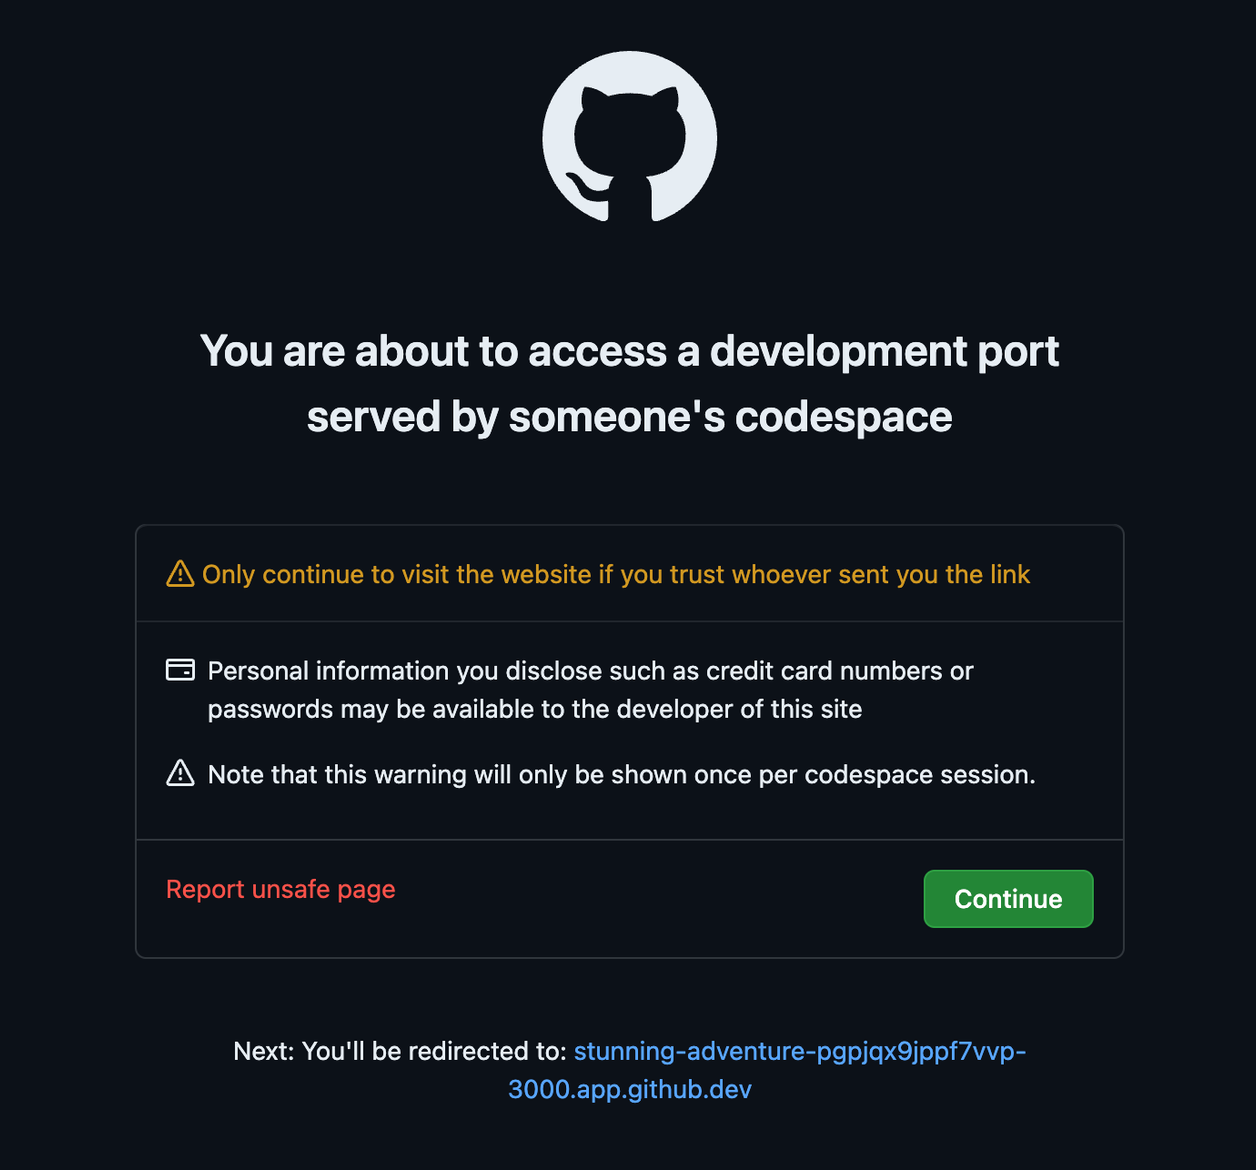
This rull run the Next.js application and give you a URL that is accessible by only you. The first time you see it, it will prompt you with this warning:

Click continue to view the site.
Configure Pages/Experience Editor
Make sure your site is visible
To enable the application to be used by Pages, first check that the URL is public. In Codespaces/VS Code, click on the Ports tab. There you will see a list of forwarded ports for your application. You are only interested in port 3000.
If the port visibility is set to Private, right-click that entry, go to Port Visibility and click Public:

Now your site is visible to anyone with the link.
Create the Rendering Host item
Next open up Content Editor in your XM Cloud dev environment. Navigate to /sitecore/system/Settings/Services/Rendering Hosts. Here we need to create a new predefined rendering host that points at your Codespaces site.
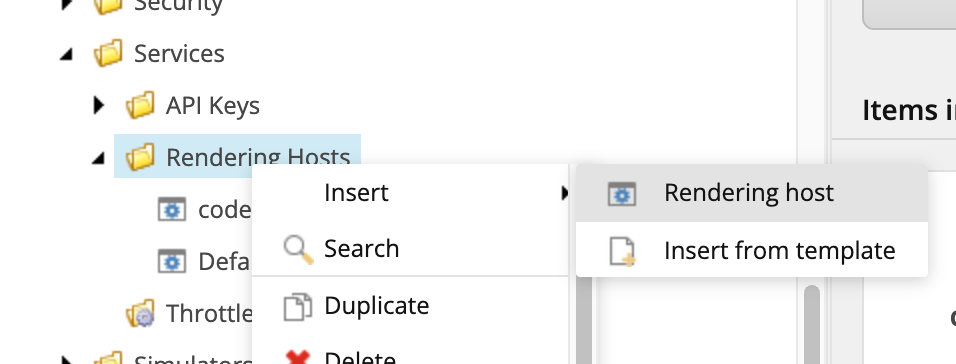
Right-click the Rendering Hosts folder and insert a new Rendering Host item:

This will be your unique rendering host, so make sure you name it accordingly.
Server side rendering engine endpoint URL- enter your codespaces application URL (Copy the forwarded address for port 3000), followed by the path: /api/editing/render.Server side rendering engine application URL- enter your codespaces application URL.Server side rendering engine configuration URL- leave blank.Application name- set to your JSS application name.
Save the item.
Create your development Site Definition item
Open Content Editor and in your site, navigate to <site root>/Settings/Site Grouping. Insert a new Site item.
Set the following fields:
Site name- set this to match your application nameHostname- set this to your Codespaces forwarded URL for port 3000Predefined application rendering host- set this to the new Rendering Host created in the step above.
We also need to change the Hostname field on the original Site item. By default it will be set to * which will override your new Site item mapping. Change the * to a different URL, usually the URL for your hosted Next.js application.
Once this is all setup, Pages will connect to your application running in Codespaces. The first time you load Pages, it may have cached the previous editing host details, so if it errors, leave it 10 minutes and try again.
Installing the Sitecore CLI
The Starter kit repo comes pre-configured for the Sitecore SLI dotnet tool. Just open a terminal at the root of the repository and run:
dotnet tool restore
The Sitecore CLI will be installed to the Codespace.
Discussion
Get the GraphQL API Key
To get the GraphQL API Key, open the XM Cloud Deploy app (https://deploy.sitecorecloud.io) and navigate to your Project, then your Environment. On the Environment details page, change to the Details tab and click the Generate Preview API token button under the heading Preview GraphQL IDE:

This will reveal the API key GUID.
Troubleshooting
Ports are not forwarding
- Please check that any VPNs are disabled